

A crack in a garage slab does not disappear under a base coat. It comes back through, sometimes the same week and sometimes after the first hot summer, as a line in the gloss or a split running straight through the flake. The repair work before the first coat is slow and dusty, and the property owner never sees it. It is also a good reason to order the fillers with the resin instead of after the grind shows what the slab was hiding.

Sort every line in the slab before picking a filler
Walk the ground slab with a marker and a flashlight held low. The lines in a concrete floor fall into a few groups, and each group gets its own treatment.
Hairline shrinkage cracks that are stable and flat across are the easy ones. Wider cracks that have opened over time need to be chased and filled. A crack where one side sits higher than the other points to movement or settlement, and a coating will not hold it together. Then come the joints, saw cuts and tooled lines placed on purpose so the slab cracks where it was told to.
Mark each line on the floor with its treatment, or sketch the room on a clipboard. Watch for cracks that line up with a joint or run across the whole slab, and ask the property owner whether any of them have grown. A crack that is still moving belongs in a different conversation than one that stopped years ago, and that difference changes what goes into it.
Routing a crack so the filler has something to hold
Filler smeared over the top of a tight crack sits in a thin skin that pops loose the first time the slab flexes. The crack has to be opened so the repair has depth and clean walls to grip.
Chase it with a crack chaser blade or a V-shaped diamond on a hand grinder, following the line instead of cutting a straight path beside it. Open it wide and deep enough for the filler to key in, and keep chasing past the point where the crack fades out. Vacuum the groove well. If the dust packs, blow it out and vacuum again, because loose fines at the bottom are exactly where a repair lets go.
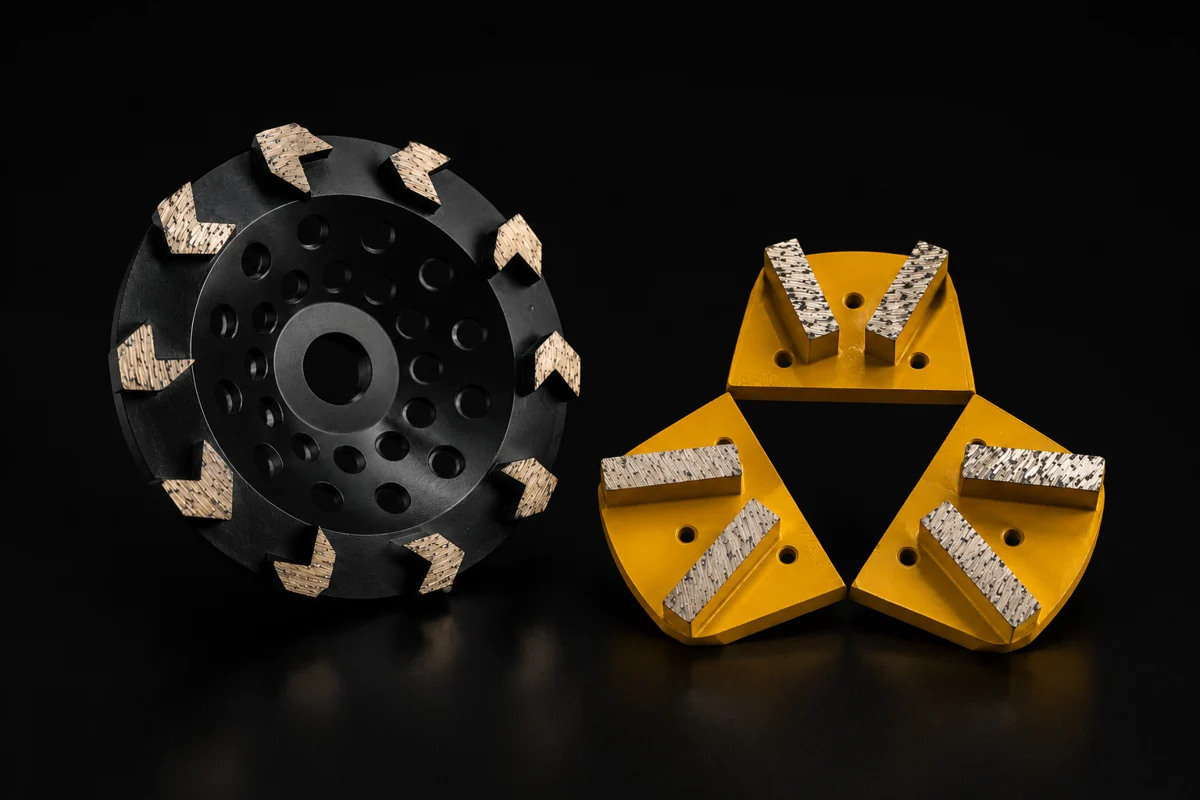
Grinding the whole slab usually happens before or alongside this step, so plan both for the same machine day. The grinder rental covers the planetary machine, and the chasing diamonds can ride along in the same pickup. A slab prepped once, with every crack opened and clean, is ready for filler that afternoon.
Rigid patch or flexible fill
Two families of filler cover most garage and shop repairs. A rigid filler, usually a thickened epoxy or polyurea repair product, cures hard and grinds like concrete. A flexible or semi-rigid joint filler stays softer and takes a small amount of movement without cracking.
Rigid fill suits dormant cracks, spalls, pitting and holes, anywhere the slab has stopped moving and you want a surface the base coat treats as sound concrete. Once cured it grinds flush and takes a coating straight over the top.
Flexible fill suits joints and cracks that still open and close with the seasons. It gives a little. The catch is that a coating laid tight over a flexible filler can still show a line when the joint moves, because the coating itself does not stretch.
Some installers load a rigid filler with silica sand for larger voids, so the batch goes further and grinds cleaner. Follow the product sheet on mixing and on how deep a single pour can go, and overfill a little so there is material left to grind back to the floor.
Honor a moving control joint or fill it
A control joint is the slab’s planned weak point. Fill it rigid and coat over it on a slab that still moves, and the concrete may crack somewhere beside it. Coat straight across an open joint that moves, and the coating will crack along the joint line.
On a residential garage that is dry, stable and past its early shrinkage, many installers fill the joints rigid, grind them flush, and carry the flake right across for a continuous look. The property owner should hear before the job that a hairline can reappear over a joint later. That talk belongs at the sale, well before anyone opens a pail.
On a slab that still moves, honoring the joint is the safer call. Cut the coating back along the joint line so it stops cleanly on either side, then fill the gap with a flexible joint sealant once the coats are down. It leaves a visible line in the floor. It also leaves a floor that does not crack at random somewhere nobody planned.
Grinding patches flush before the base goes down
A cured patch that stands proud of the floor telegraphs through every coat above it, and gloss makes it worse. Low light across a finished floor picks out a bump a hand would miss.
Once the filler has cured to the point its sheet allows for grinding, take it down level with the surrounding slab. A hand grinder with a cup wheel works along narrow cracks, and the planetary machine handles wide patched areas and blends them into the profile of the rest of the floor. Match the scratch pattern too, since a smooth patch beside a coarse profile takes the base coat differently.
Lay a straightedge across the larger repairs and feel for edges with a flat palm. If a patch has shrunk or sunk, a second skim and a second grind are faster than living with a dip under the flake.
Vacuum everything, then wipe the repaired lines if the sheet calls for it. The epoxy systems start with a primer or base that wets out best on a clean, even surface, and good repairs vanish under it.
What installers ask about fillers
Can I coat over hairline cracks without filling them?
Stable hairlines that are flat across and have not grown often disappear under a primer and a broadcast base, and many installers leave them alone. Anything wider, or any crack the owner says has grown, should be chased and filled first. When you are unsure, chase it. An unneeded repair takes an hour, while a crack showing through the flake means a callback.
Should control joints be filled on a garage floor?
On a dry, stable residential slab, many installers fill joints rigid and broadcast straight across, after warning the owner that a hairline could return over a joint. On a slab that still moves, honor the joint instead. Stop the coating at the joint line and seal the gap with a flexible filler after the coats are down.
How long before a patch can be ground and coated?
That comes from the filler’s data sheet, and it shifts with slab temperature. Fast crack repair products can be ready to grind soon after they set, while deep patches take longer. Test by grinding a small corner of the repair. If it cuts clean and dusty it is ready, and if it gums up the diamonds, give it more time.
Crack work is the least visible step on the floor and the first one to show when it gets skipped. Send photos of the cracks and the joint layout through the contact page, or talk to the owner at (209) 208-4656 about which filler fits the slab.